A Wireless Distribution System (WDS) is a system that enables the wireless interconnection of access points in an IEEE 802.11 network. It allows a wireless network to be expanded using multiple access points without the need for a wired backbone to link them, as is traditionally required. For more information about WDS, please refer to Wikipedia. The instruction below is a solution for SOHO WDS connection.
In order to build a WDS connection between different devices, it requires that both devices support WDS connection. But it only needs to Enable the WDS on one of them.

To setup WDS with TP-LINK 11N routers, the following steps are required:
Step 1
Log into 11N router’s management page. If you are not sure about how to do this, please click here.
Step 2
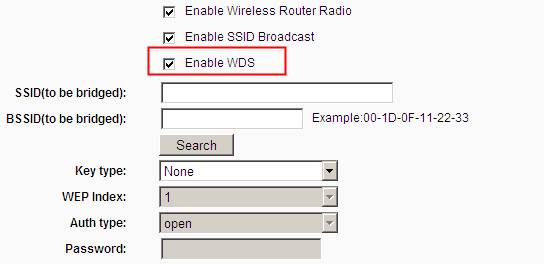
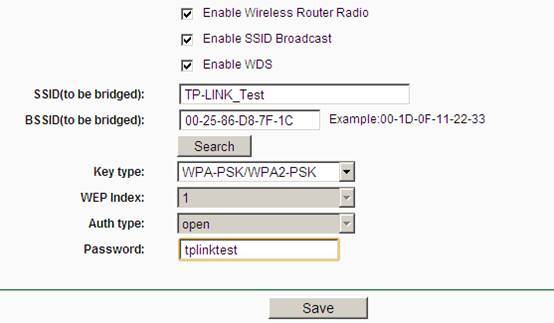
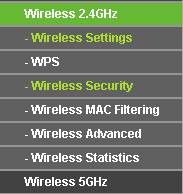
Go to Wireless -> Wireless Settings. Check Enable WDS (Enable WDS bridging). Then the page will show as below.
Step 3
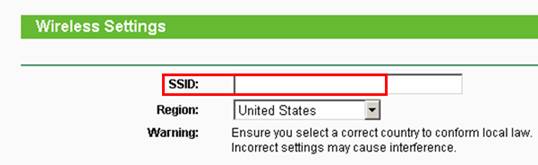
The SSID on the top of the page is the wireless network name of this router. You can name whatever you like.
Step 4
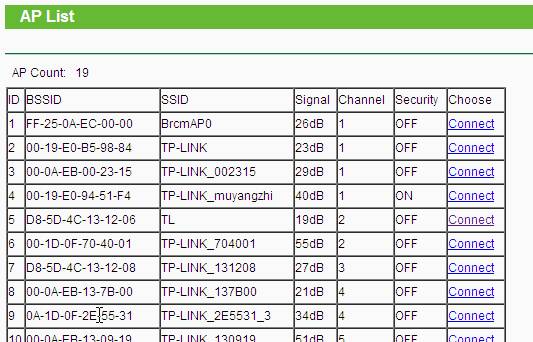
Click Search/Survey. On the pop-up window, find the SSID of your root AP, and hit Connect:
Step 5
The root AP’s SSID and BSSID (MAC Address) will be filled in automatically. Then please input the wireless security settings to match the ones on the root AP. Click on Save.
Step 6
Go to Wireless Security page to secure 11N router itself. The Encryption settings here could be different with your root router.
Step 7
Click DHCP-> DHCP Settings page. Choose Disable DHCP Server, and click Save button.

Step 8
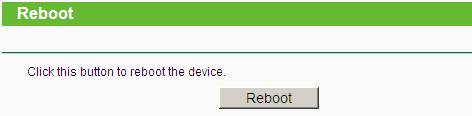
Please go to System Tools-> Reboot page to reboot the unit.
Step 9
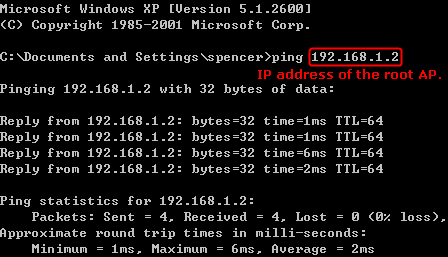
All settings required by WDS function are completed. You can make a simple check by the Ping utility such as command prompt. For how to use Ping, please refer to how to use Ping command. If the ping proceeds successfully (which means the WDS performs properly), you will see the similar screen as below: